Technology is integral to a child’s life. They will see it everywhere from birth and…
How to Setup Automatic WordPress Backup with CodeGuard
Do you want to create a time machine for your website? Having an automatic cloud backup of your WordPress site is the first step in securing your website because it gives you the option to revert changes should anything go wrong. Below you can find how to setup an automatic WordPress backup with CodeGuard Backup Service (if you’re using one).
What is CodeGuard?
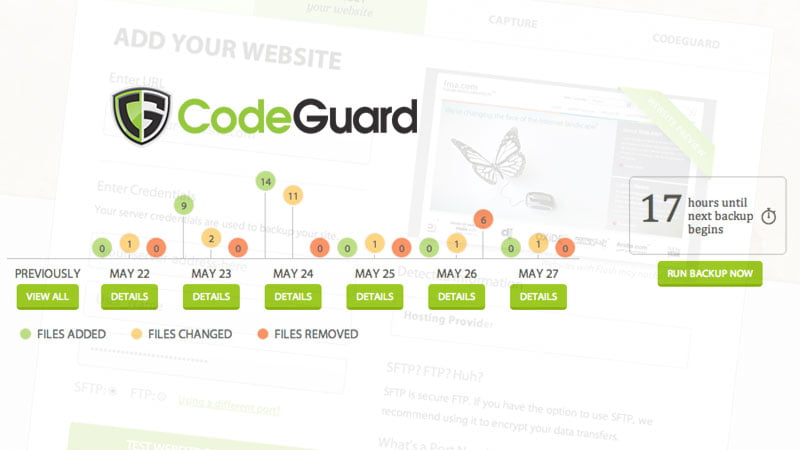
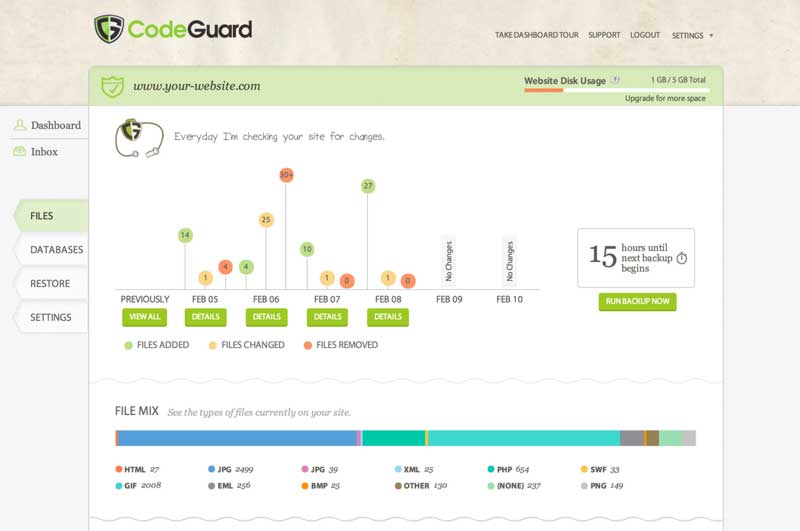
CodeGuard is a website backup service that can automatically backup your WordPress site and save it on the cloud. It also allows you to track your changes daily.
There are plenty of WordPress backup plugins available. However, using a plugin means you will have to keep it up to date, and in most cases the backups aren’t stored properly on an offsite location.
CodeGuard is a paid backup service that works on all website platforms including WordPress. At Connect 2u2 Web Technologies we’re offering CodeGuard Backup Plans for all clients, websites and CMS platforms. Our CodeGuard Backup Services start from A$20.00 per 6 months. Setting up CodeGuard Backups after the service is activated is an easy thing to do.
Setting up WordPress Backup with CodeGuard Backup Service
First thing you need to do is visit your Connect Account, Login to your Connect Hosting Dashboard and access your CodeGuard Backup Account. If you haven’t login previously, it’s essential that you use a strong password for both WordPress Site and CodeGuard.
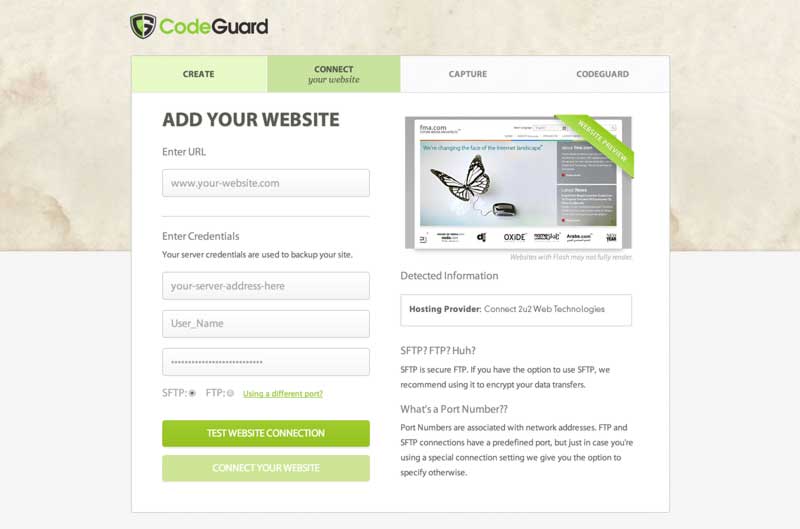
Add your website to CodeGuard by entering your website’s URL and provide FTP(s) information. (* Note: that some Connect Hosting Accounts have FTP disabled, but if you purchase CodeGuard Backup Plan with Connect Services, please Drop us a note and we will provide you the FTP/SFTP credentials.)
After entering your FTP/SFTP information, click on the test connection button. CodeGuard will show a success message. You can now click on the connect your website button. CodeGuard will connect to your website, and it will show you all the files stored on your server.
When site is connected, you will need to select the folder that contains all your WordPress files and then click ‘select root directory’ button to continue.
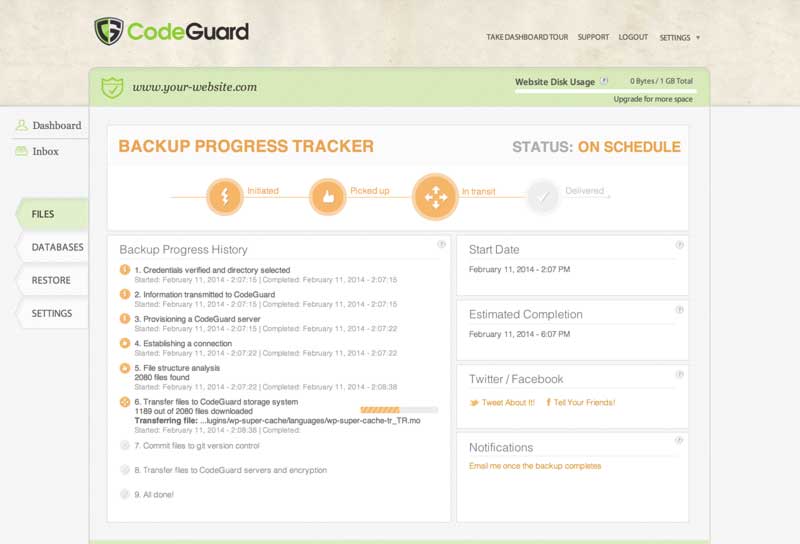
Now scroll down a bit, and you will see ‘Select website content’ section. You need to select all your files and folders. Simply click on the top folder and all the files inside it will be automatically selected. Next, click on the begin first backup button to continue.
You will see a success message. CodeGuard will automatically start downloading your WordPress files to their cloud servers in the background.
You will be asked to add your WordPress database for backup.
The next step is to connect your database and to do that you will need the following information:
- Your database hostname or IP address
- MySQL Database Username
- MySQL Database User Password
If you connect to your host using localhost as your hostname, then you will need to enter your domain name as the hostname. On the other hand, if you use a hostname like mysql.example.com, then you will have to enter that or add your MySQL server’s IP address.
Enter your database connection information. Before you click on the next step button, you will need to copy the IP addresses shown under the Helpful Tips box on the right.
Your web host will not allow an external IP to connect to your database unless you explicitly allow it access. To do that, you need whitelist these IP addresses.
Simply login to your Hosting Control Panel account (via Connect Dashboard) and click on the Remote MySQL icon. (* Note: Some Connect Hosting Accounts do not have Remote MySQL Connections enabled by default. Please, Contact us if you are on the Hosting Service that’s not providing Remote MySQL so we can help you out.)
Copy and paste an IP address and then click on add host button. Repeat for all IP addresses given by CodeGuard.
Once you are done, come back to the CodeGuard’s add database screen and click on the next step button.
CodeGuard will connect to your database now. If you have more than one database, then it will ask you to select one. Choose your WordPress database and click on add database button.
CodeGuard will now start backing up your database to their cloud servers. Upon completion it will show your database and some basic WordPress stats.
That’s all you have successfully backed up your WordPress site and database on CodeGuard’s cloud servers.
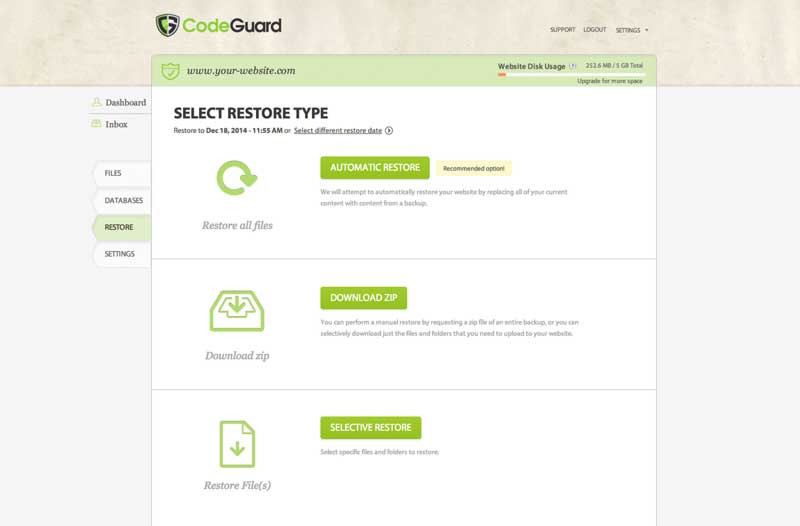
How to Restore Site and Database from CodeGuard Backups
As a website owner, you need to be sure that the backup solution you are using for your site is easy to restore. CodeGuard Backup Service offers automatic restore options which allow you to restore your WordPress files and database with one click.
[wpseo_map width=”100%” height=”300″ zoom=”-1″ map_style=”roadmap” scrollable=”0″ draggable=”1″ show_route=”0″ show_state=”1″ show_url=”0″] [wpseo_address hide_address=”1″ show_state=”1″ show_country=”1″ show_phone=”1″ show_phone_2=”0″ show_fax=”0″ show_email=”1″ show_url=”1″ show_logo=”0″ show_opening_hours=”1″]Related Articles