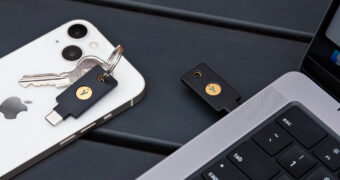
With Apple’s launch of support for security keys as a part of their iOS 16.3 update, users can now register their YubiKeys to their iCloud account. By taking this simple step, users can significantly increase their security – even if their iCloud account password is stolen.
Security keys are phishing-resistant because they require proof of possession and the presence of the user to log in or gain access. They also deliver a seamless experience, letting users log in with a single tap or touch on the security key, and are both crush-proof and water-resistant. Beyond its convenience factor, YubiKeys are trusted devices – meaning you don’t need to use the YubiKey every time you log in. Once an app or service is verified, it will stay verified.
The first step to phishing-resistance is adding your YubiKey to your iCloud account. Below are the necessary steps needed to do so, as well as a video highlighting each step.
For more detailed instructions on adding YubiKeys to Apple ID, visit our support center.
Adding YubiKeys to your iCloud account
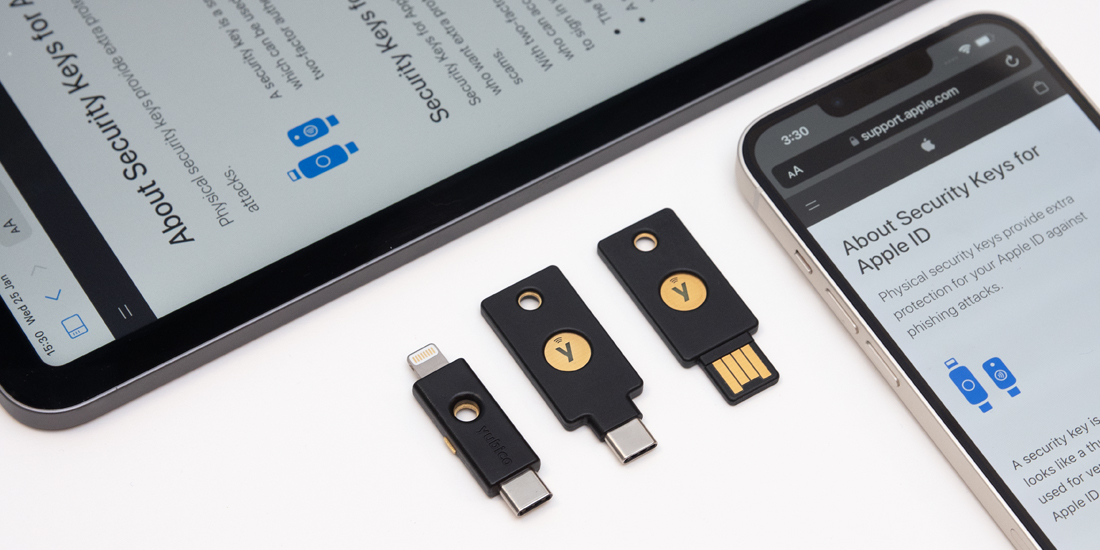
To ensure you have a backup, you need a minimum of two YubiKeys to get started (you can add up to 6 security keys). A full list of compatible YubiKeys with iCloud is found at the top of the page here, but most YubiKeys will be able to be paired. Apple recommends the YubiKey 5 Series – including the 5C NFC or 5Ci (featuring a dual connector with support for USB-C and Lightning) – but you can discover what YubiKey is right for you by taking our quiz.
To get started, first verify you have the following prerequisites:
- A minimum of two YubiKeys
- iOS/iPadOS 16.3 or above
- Two-factor authentication enabled on your Apple ID
- MacOS Ventura 13.2 or above
- A modern web browser such as Safari or Chrome
Once the above items are confirmed, follow the below steps to add YubiKeys to iPhone, iPad or Mac:
On iPhone or iPad:
- Open the Settings app.
- Tap your name, then tap Password & Security.
- Tap Add Security Keys, then follow the onscreen instructions to add your keys.
- At the prompt, plug in or tap your Security Key to the iPhone. Note that plugging in your YubiKey requires you to also physically touch the key.
- Review the devices associated with your Apple ID, then choose to
- Stay signed in to all active devices.
- Select devices that you don’t want to continue to have access to your account and sign out of them.
On Mac:
- From the Apple menu, choose System Settings, then click your name.
- Click Password & Security.
- Next to Security Keys, click Add, then follow the onscreen instructions to add your keys.
- At the prompt, plug in or tap your Security Key to the iPhone. Note that plugging in your YubiKey requires you to also physically touch the key.
- Review the devices associated with your Apple ID, then choose to
- Stay signed in to all devices.
- Select devices that you don’t want to continue to have access to your account and sign out of them.
Once you have set up your YubiKey with your iCloud account, you will be required to use a security key to log in from untrusted devices. Read Apple’s Security Key support article to learn more about the implementation.
Check out the video below to see how the process outlined previously works, and get on the path to phishing-resistance!